If you haven't installed Jupyter Notebook, please install Anaconda first, and installing Anaconda will install Anaconda Navigator and Jupyter Notebook at the same time. To install Anaconda, please refer to this instruction: How to install Anaconda.
STEP 1. Execute Jupyter Notebook:
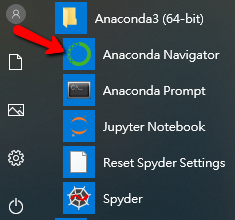
Open Anaconda Navigator in Start-->Programs (You can also open Jupyter Notebook directly * )
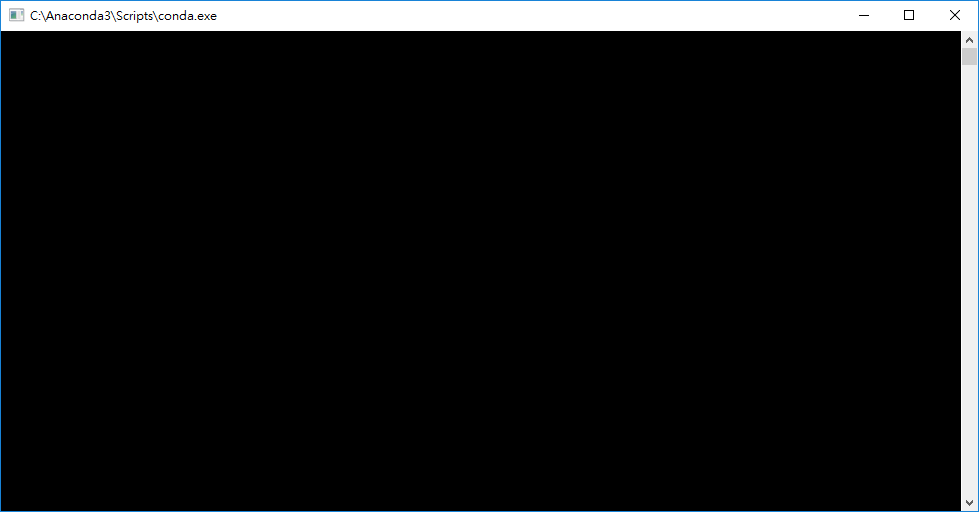
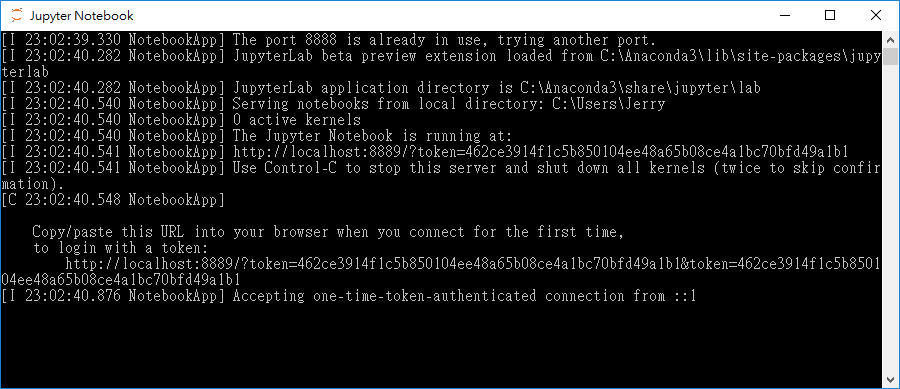
During the process of opening Anaconda Navigator, several cmd windows similar to the following will be opened/closed:
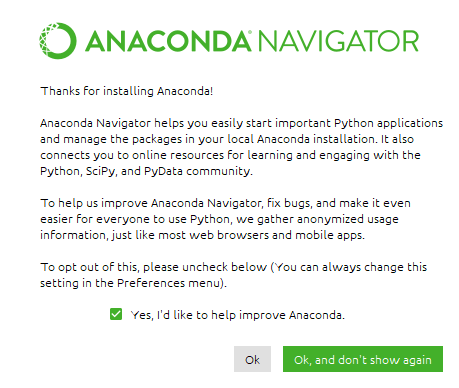
When starting Anaconda Navigator, you will first see this thank you screen (press OK or OK don't show again):
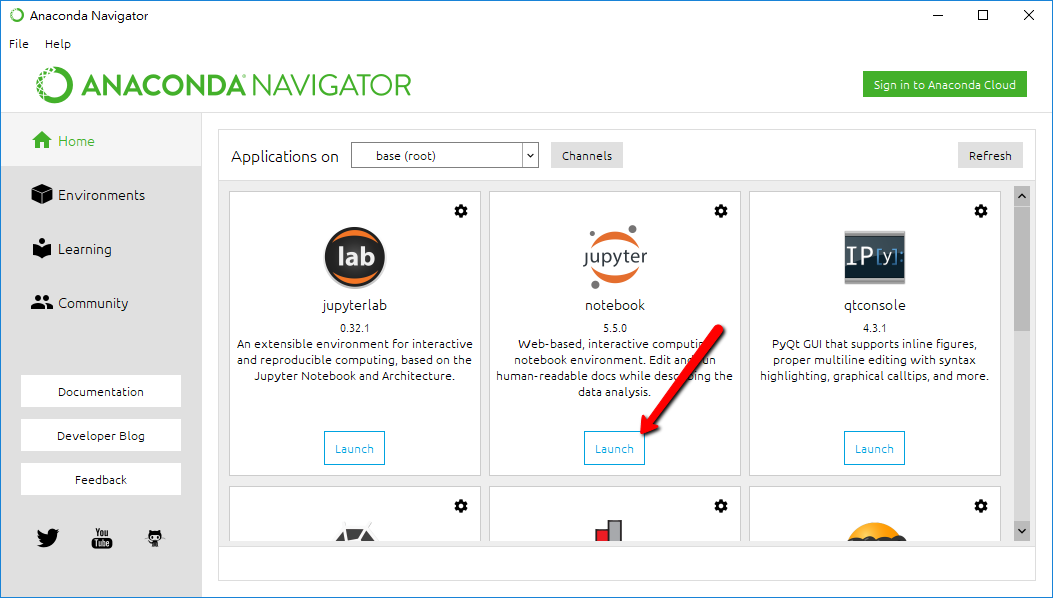
Then the Anaconda Navigator window will open, under Jupyter notebook, press Launch to execute Jupyter Notebook:
After Launching Jupyter Notebook, the default browser will be opened (or the computer will ask you to select a default one, please select a preferred browser) and the following web page (called Jupyter Dashboard) will be loaded:
You can see the special URL of this web page, localhost indicates that it is the local machine, and 8888 is the port (connection port)
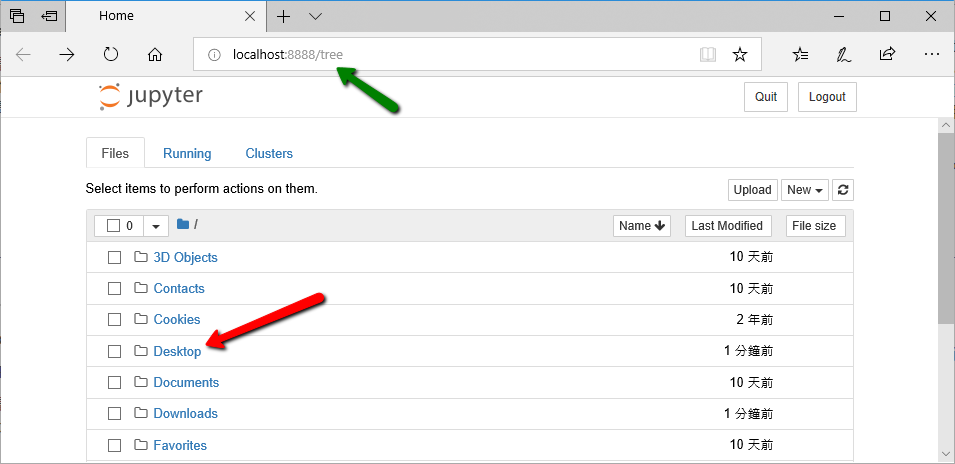
This web page will display the user folder of the computer, which is also the default folder for placing Jupyter Notebook files, but it can also be placed on the desktop, please click Desktop to switch to the desktop (The reason we select desktop is because it is the easiest way we can save/find our files).
* You can also open Jupyter Notebook directly in Start-->Programs:
During the opening process, the following cmd window will be opened. When using Jupyter Notebook, keep this window opened!
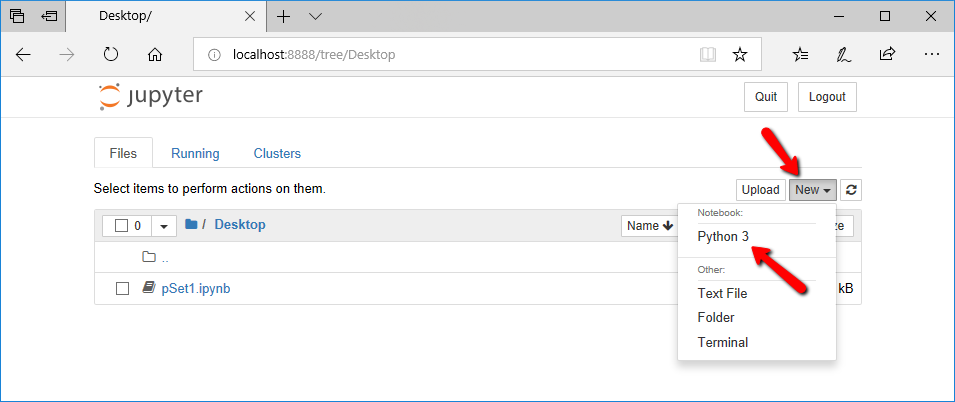
STEP 2A. Use Jupyter Notebook: Jupyter Notebook is actually a text editor, editing a file with the extension .ipynb, you can open a new Notebook in the following way: Press New --> Python 3
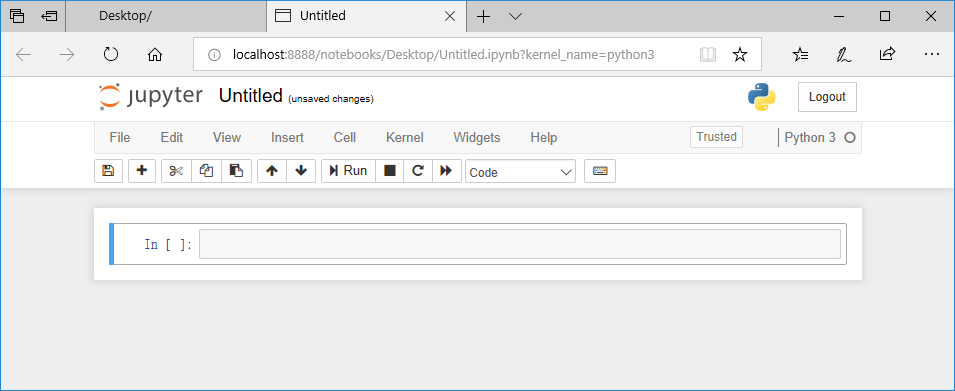
This will create a Notebook file with the file name Untitled.ipynb on the desktop (if you have switched to the Desktop folder as shown above). The Untitled.ipynb will open in a new tab:
You can Double-click on Untitled to change the name:

If you switch back to the original Desktop tab(Jupyter Dashboard), you can see the created files. This page(Jupter Dashboard) can be used to manage Notebook files.
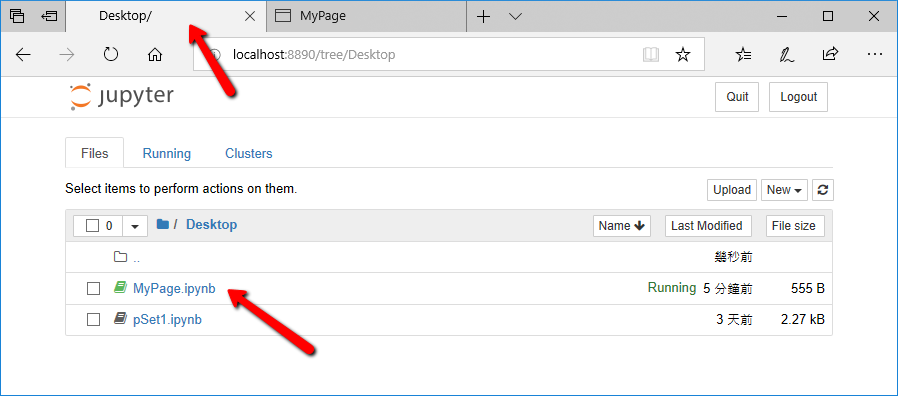
STEP 2B. If there is a Notebook file on the Desktop already, such as pSet1.ipynb in the image below, you can click it to open it.
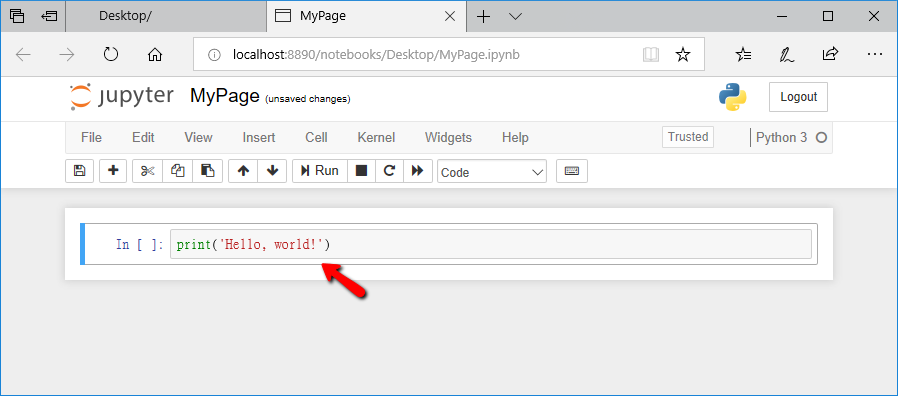
STEP 3: Try to write a line of program : Switch back to MyPage.ipynb, type print('Hello, world!') as shown in the figure below
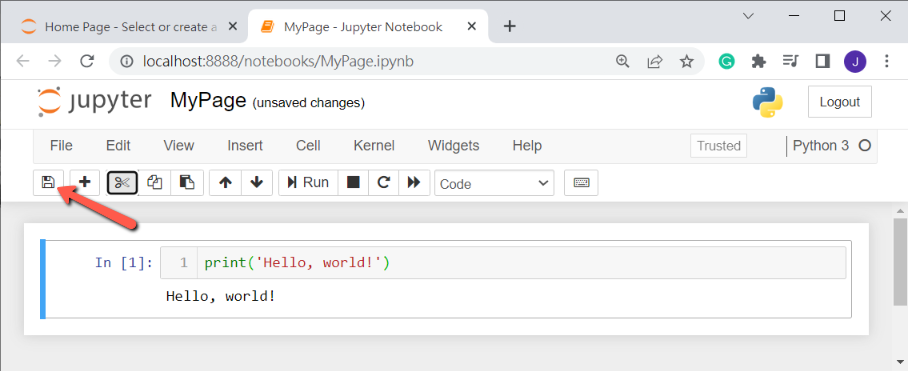
Then press Run or press Ctrl + Enter on the keyboard to execute, the execution result will be displayed, and In [ ], it will be changed to In[1] at the same time, indicating that this line of program is the first executed program in this file:

If you've never written a Python program, you've already taken your first step **!
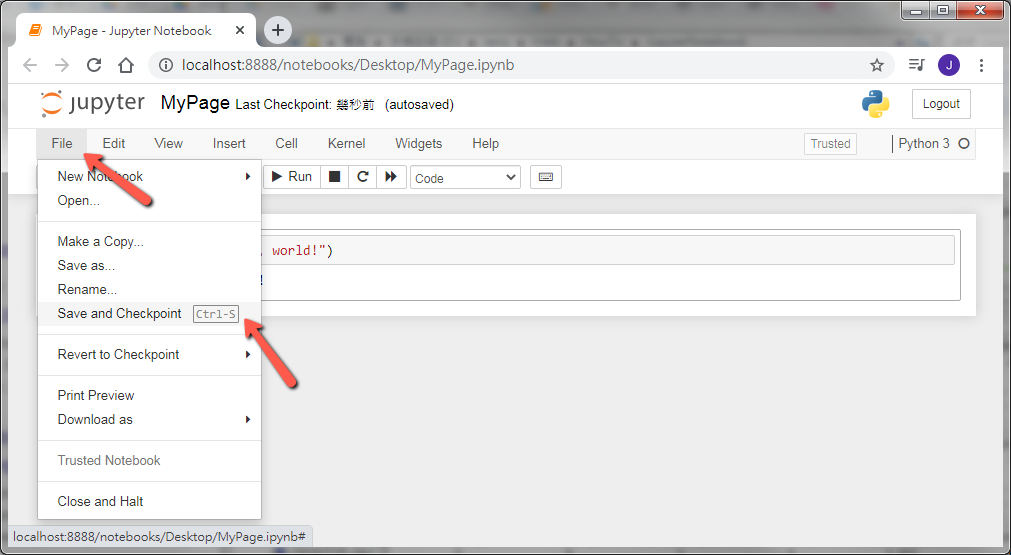
STEP 4: Lastly, we need to save the file. Jupyter Notebook is a file with the extension .ipynb. For example, the file above is called MyPage.ipynb, so please note that you saved the .ipynb file, not the .html file. Savinga file is easy, press the save button on the top left or select file --> Save and Checkpoint or press Ctrl + S (Windows OS) :
It takes time to get familiar with the functions and operation methods of Jupyter Notebook, and you can learn it at the time while learning the Python programming.
** Please note that, to create a complete Python program, a file with the extension .py should be used to write the code. However, when we create a Python program in Jupyter Notebook, we are writing the program on a web page envinoment. The extension of this file is .ipynb. If we try to open a .ipynb directly (by double-clicking the mouse), it won't be opened most of the cases. If we open it with a browser, we will see a text file (a text file in "JSON" format). So, "The .ipynb file should be opened with Jupyter Notebook", that is to say, you should first open Anaconda --> Jupyter Notebook, then find the .ipynb file in Jupyter Dashboard, and then open it.
Questions ? E-mail me at yeh@isu.edu.tw